
(Get free painting tips and plein air painting techniques sent straight to your inbox or on my social media.)
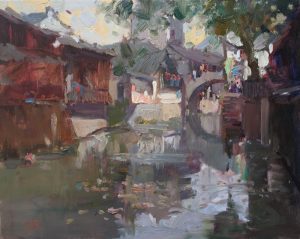
A step by step oil painting demonstration of a landscape showing how to create a captivating focal area, by artist Barry John Raybould, creator of the Virtual Art Academy. This demonstration is a painting of a scene from an ancient village called Xinchang, near Shanghai in China.
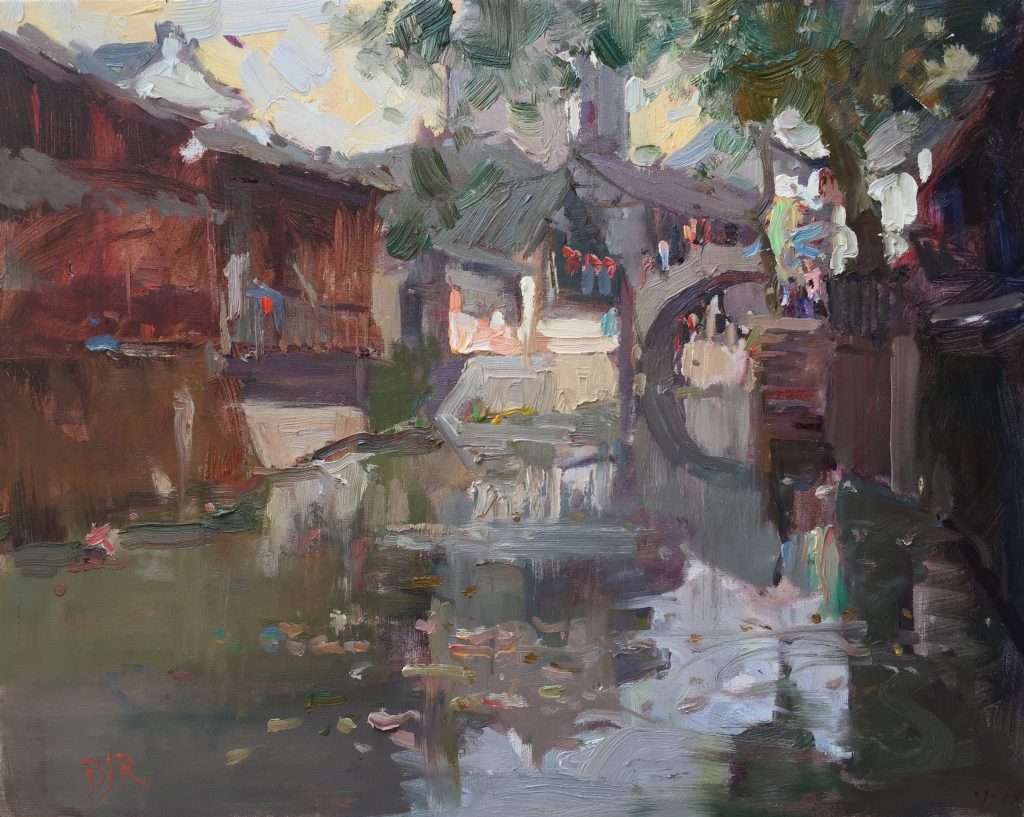
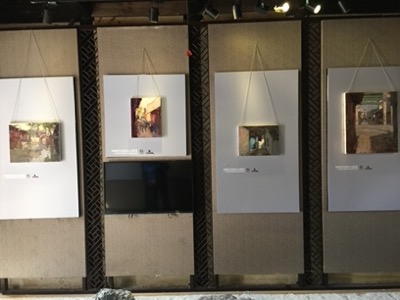
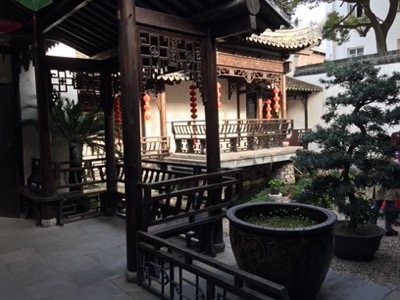
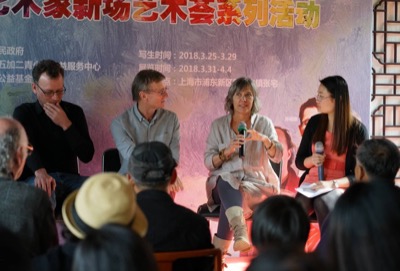
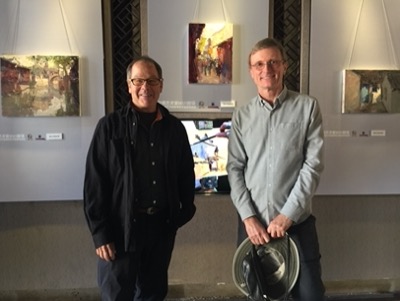
Xinchang is an old Chinese village built with traditional wooden houses showing how life was in China several hundred years ago. I painted here for a week in 2018 with Kevin Macpherson and Ken Cadwallader (past president of the Oil Painters of America) together some invited prominent local Chinese artists. We ended a week of intense painting with an exhibition of our work in one of the old historic houses in the village.
Step-by-Step Oil Painting Demonstration Overview


Step By Step Oil Painting
Here is the procedure I used for how to paint this landscape.
Total Time: 3 hours
Step One: Map Shapes
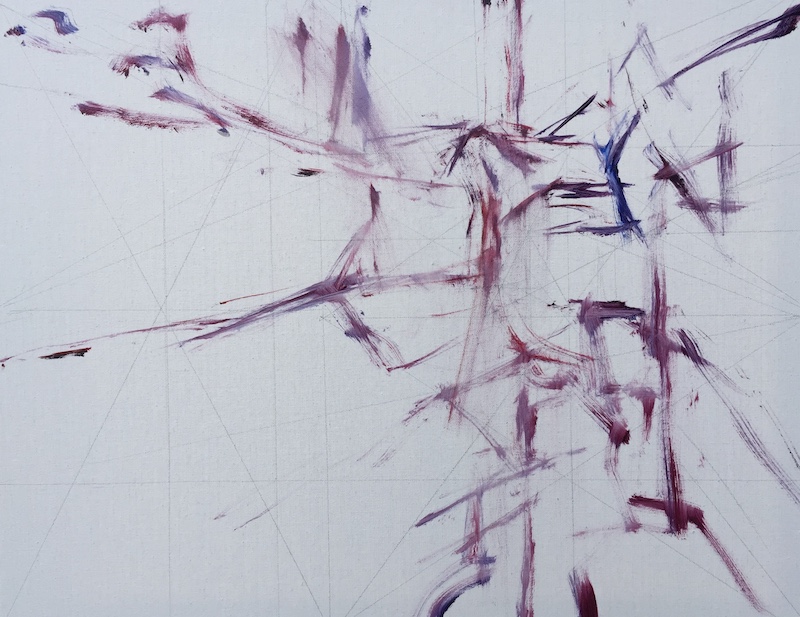
In step one of this step by step oil painting demonstration, I map the major shapes in the composition. In this example I used a technique called informal subdivision to divide up the space in to unequal areas, prior to doing the drawing. For more detail on this technique, see lesson C11 in Workshop C of the Apprentice Program Year One Painting Classes.
Step Two: Establish Linear Perspective
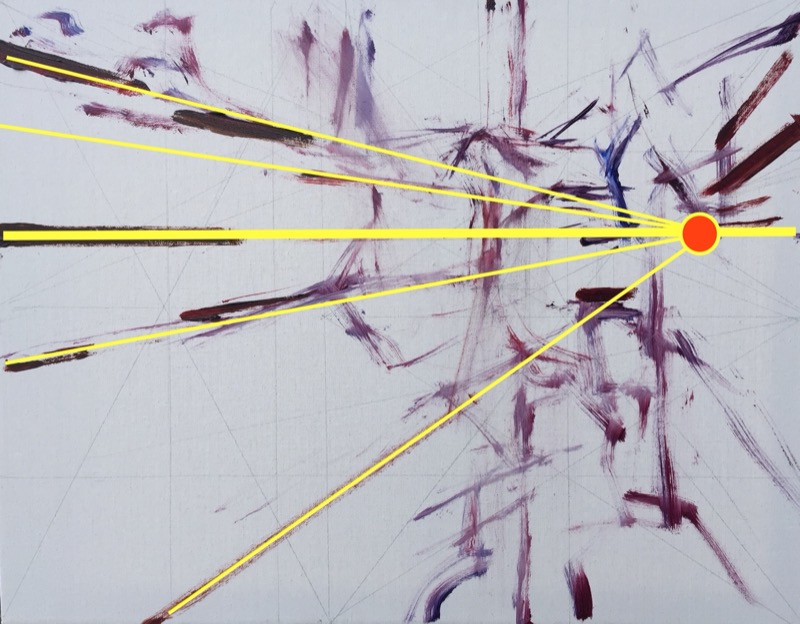
Here I established the linear perspective in the scene by marking the vanishing point with a spot of paint and drawing the linear perspective lines.
Step Three: Transparent Block In
I am now mapping the major shapes using patches of transparent color. At the same time I am establishing the pattern of lights and darks. Note that I’m not creating sharp edges at this point, leaving most of the edges soft. Also I am trying to find temperature differences between the patches of paint, painting some shapes warmer and other shapes cooler.
Step 4: Establish Values
In this step I adjusted the values of some of the buildings using thin paint.
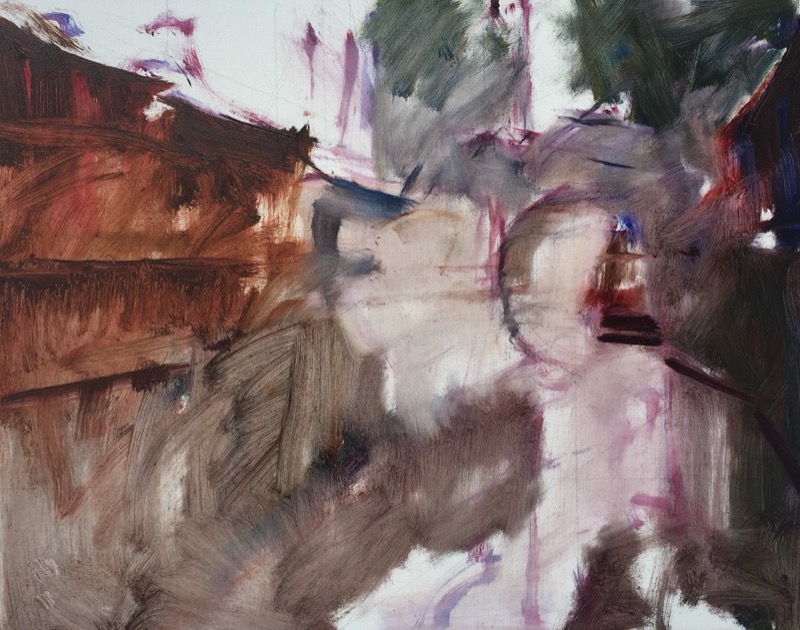
Step 5: Opaque Block In
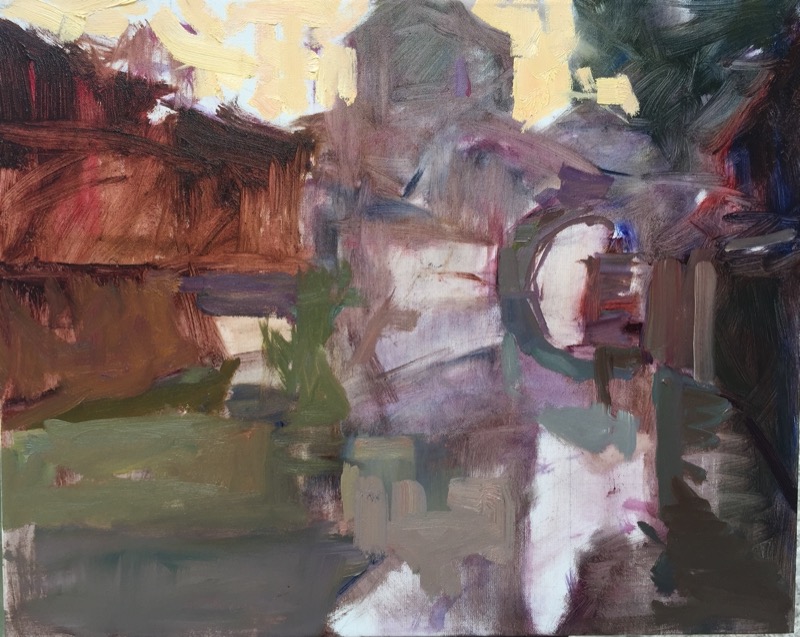
In this step I am starting to block in the major shapes using opaque colors. I am focusing on creating patches of different grays each having a definite hue. The goal is to create colorful grays, rather than neutral grays.
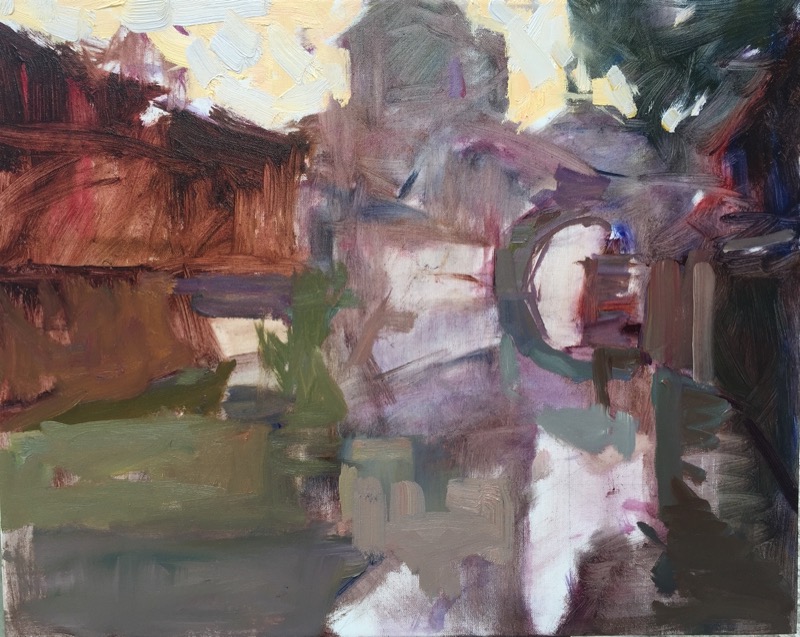
Step 6: Paint The Sky
I am now painting the sky because the sky sets the whole tone of the painting. For this reason you need to get the sky painted in relatively early on in the painting process. In this particular painting I am using a fairly complex process to paint the sky using a technique called optical color mixing. I am painting the sky in yellow for the first layer. In the next layer I will go over the yellow with blues and other colors.
Step 7: Optical Color Mixing
You can now see me graying the sky down by layering a blue gray on top of the yellow, being careful not to completely cover the yellow layer underneath. This creates an optical color mixing effect and gives the painting a greater feeling of light.
You can learn more about complementary and triadic optical color mixing in lessons PO6 and PO7 in Workshop P of the Apprentice Program Year Four Painting Classes.
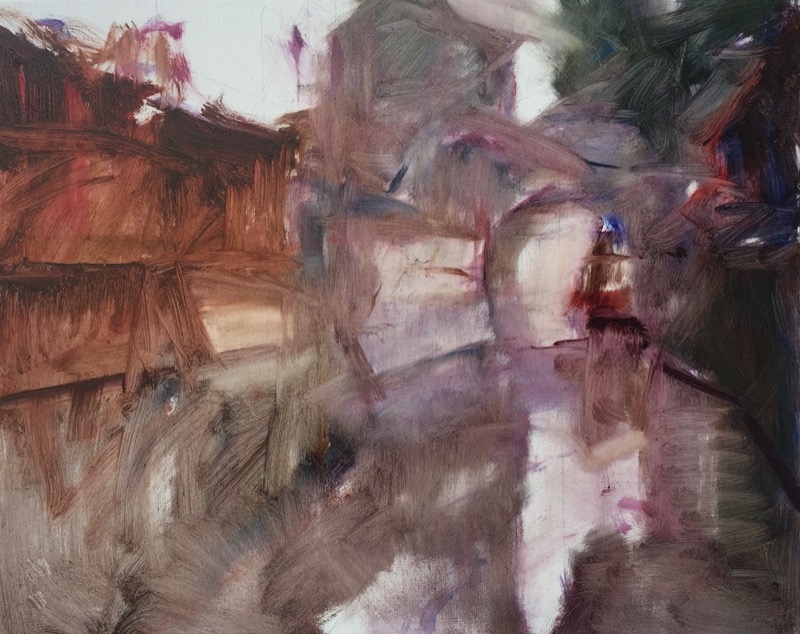
Step 9: Color Focal Area
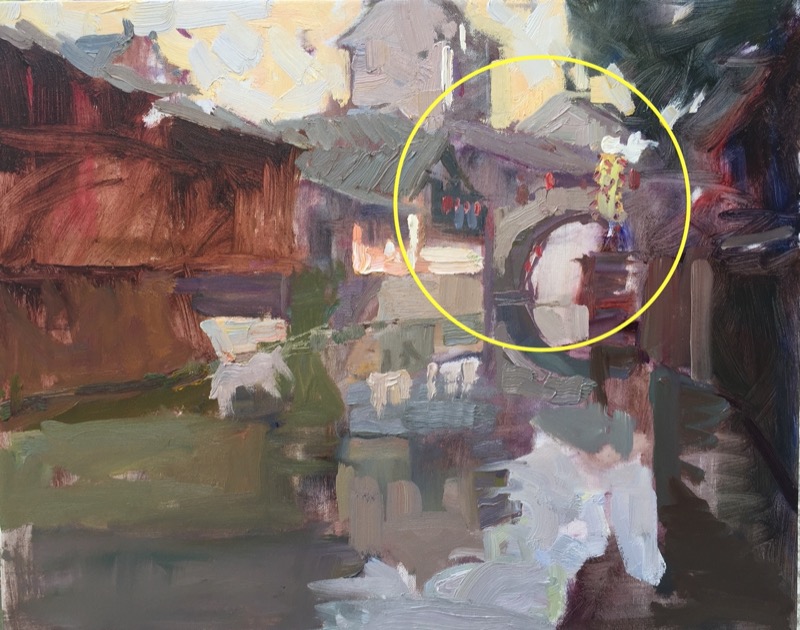
In the step I am playing with color. I am trying saturated blues, yellows, and reds in my focal area to see how they play with the rest of the colors in the painting. These colors may or may not end up in the final painting. I do not consider painting to be a step-by-step process. Rather it is a series of experiments in which you try something to see if it works. It it does, you leave them. If they do not work you simply scrape them off and try something else.
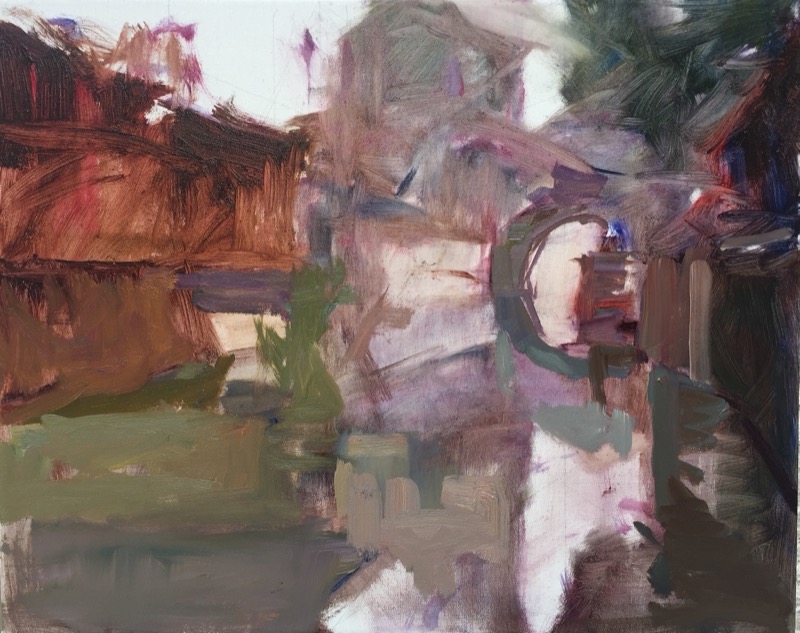
Step 9: Refine Shapes And Detail

In the final stage I refine the shapes, particularly in the focal area, and add some of the small details to add interest to the painting and to help lead your eye around the picture plane. Note the dots of red green and blue in different parts of the water and buildings away from the focal area. This is helping the I move around the painting using the principle of repeated color spots. I will go into that in more detail in lessons J11 in Workshop J of the Apprentice Program Year Three Painting Classes.
In this step by step oil painting you have seen how to develop a focal area that will capture your viewer’s attention. They key is to keep most of the detail in that area, and to ensure that it has a color interest.
Brushwork Detail
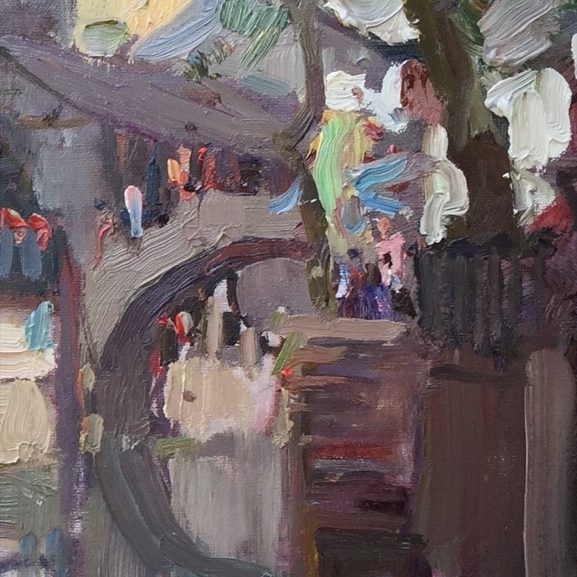
Here is some detail of the brushwork of the painting in this step by step oil painting demonstration.
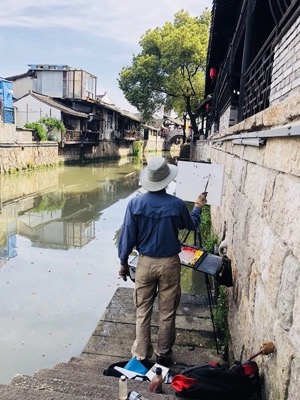
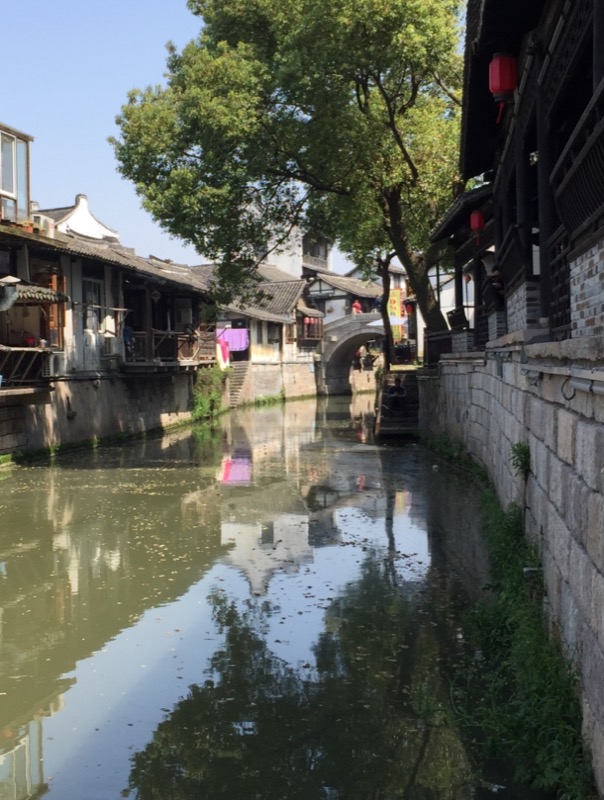
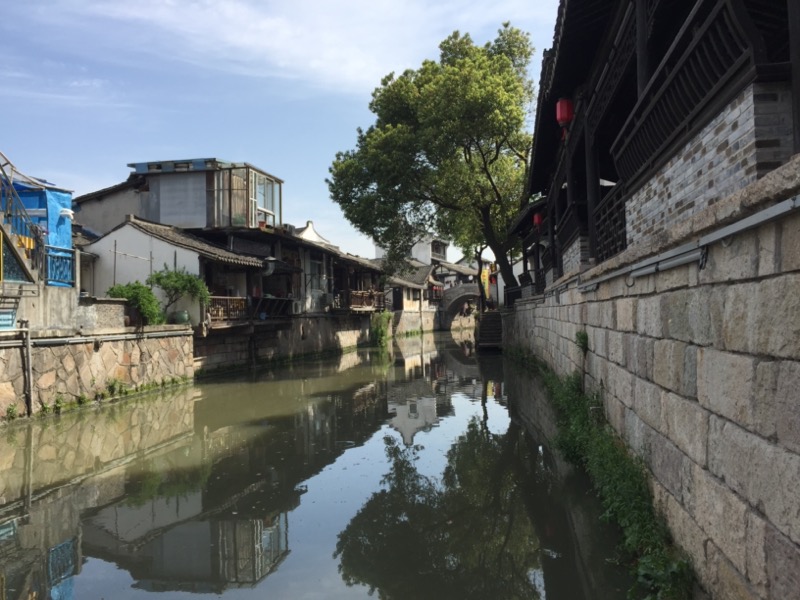
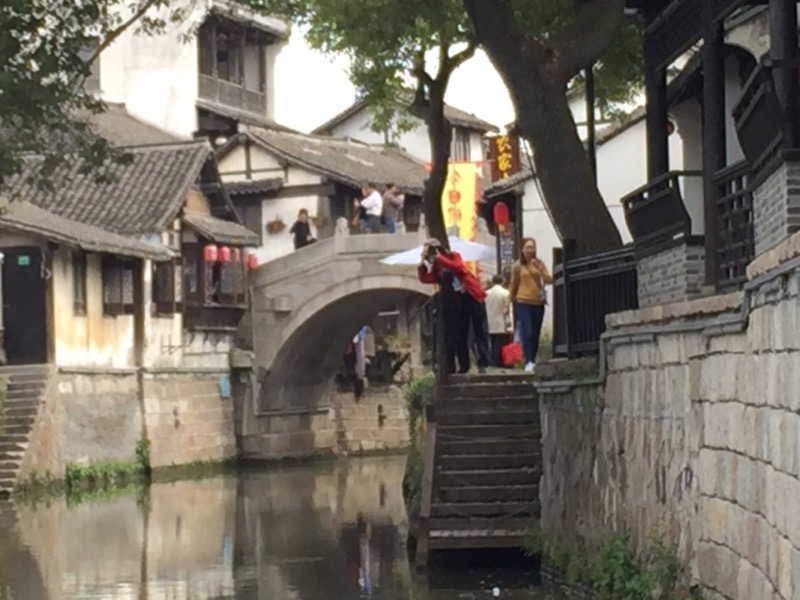
Reference Photographs
Here are some reference photographs for this step-by-step oil painting demonstration.
Student Project
To practice this step by step oil painting process, I suggest you do the following exercise:
Step 1
Create a few different crops from this photograph in order to identify the best shape design and space division. I suggest doing an outline study.
Step 2
Do a series of notan studies, and color maps to explore the dominant values, and potential color harmonies.
Step 3
Do a final painting. You can use your own method or try copying this step by step oil painting demonstration. Read more about how to paint a landscape.
About The Location Of This Step By Step Oil Painting Demonstration: Xinchang
The painting was done in Xinchang Ancient Village, near Shanghai, China. This in amazing ancient village not far away from Shanghai in China. It consists of ancient wooden built houses set amongst a series of waterways and canals. It is full of beautiful old wooden bridges and traditional Chinese architecture. It is well worth A visit if you are in the Shanghai area.
See trip.com for more photos.
Thank You
Thank you for taking the time to read this article. I hope you find it useful. If you would like to get free painting tips by email, please sign up for my free tips newsletter.
If you are interested in a structured approach for learning how to paint, take a look at my online painting classes.
Happy painting!
Barry John Raybould
Virtual Art Academy
What The Students Are Saying
An excellent foundation on so many aspects of painting
I never had formal training in painting and my style has always been very realistic, slow and not at all artistic, just a copy of a photograph. When I got word of the course available through Virtual Art Academy, I was very excited for the opportunity to learn what I never knew about painting. VAA… Read more “An excellent foundation on so many aspects of painting”
The small steps are easy to do
I am extremely impressed with the process that Barry has developed for VAA. Learning to paint can be intimidating, but when broken into many small projects it is very do-able. I just did my first live model painting session- a 5 hour, one day session. Thanks to VAA, I was able to break the painting… Read more “The small steps are easy to do”
‘Ladder of Learning’ adds to overall positive experience of this awesome course
The VAA course is built on four main building blocks including PROCESS, REALISM, MUSIC AND POETRY. These are further divided into topics that are continuously developed throughout the curriculum. Drawing, Form, Observation, Colour, Brushwork, Notan, Composition and Poetry are all thoroughly taught. Working on-line we meet students from all around the world, interacting with them… Read more “‘Ladder of Learning’ adds to overall positive experience of this awesome course”
Building blocks of learning is the best I have seen

I joined 5 years ago when I didn’t know anything about oils, painting, composition, or drawing. Barry’s way of teaching is extremely well versed in many aspects of painting. His building blocks of learning is the best I have seen. The academy is designed well and the community of fellow students is engaging and friendly.… Read more “Building blocks of learning is the best I have seen”
The most comprehensive art instruction I could find anywhere online, and trust me, I had been looking for a long time.

I joined 2 years ago with my daughter. We have both learnt so much and have enjoyed our VAA time together. My daughter is now 13 and already produces amazing paintings. The Virtual Art Academy is simply the most comprehensive art instruction I could find anywhere online, and trust me, I had been looking for… Read more “The most comprehensive art instruction I could find anywhere online, and trust me, I had been looking for a long time.”
Since I started the programme I can see improvements in my composition and use of colour
My painting “Primitive Pots” recently won the award given by the Royal Institute of Painters in Watercolour at the recent selected exhibition of the Society of East Anglian watercolourists. I have been working through the VAA course for over five years and would highly recommend it to anyone wanting to improve their painting. There is… Read more “Since I started the programme I can see improvements in my composition and use of colour”
This is a far more superior school than anything I have seen being taught at colleges across the country
This is a far more superior school than anything I have seen being taught at colleges across the country and have learned much more from the Virtual Art Academy® than from any art course I have ever taken! I cannot begin to tell how the Virtual Art Academy has improved my observation of potential compositions… Read more “This is a far more superior school than anything I have seen being taught at colleges across the country”
It is a real course that trains you in a structured way

The questions you ask yourself are,”Will it be worth the cost?” and “Will it be truly useful?”. After a couple of weeks working on/in Virtual Art Academy®, I can say that the amount of work it represents – by Barry – is incredible! The information presented alone is more than worth the price and, yes,… Read more “It is a real course that trains you in a structured way”


Good job
Great tutorial. Thanks!
Thanks Nancy!
Was very interesting to read. Thank you for your contribution.
Great Post!