What is a graded wash?
A graded wash is another basic watercolor technique that you can use to represent the sky from top to bottom, a landscape from near to far distance, or any other situation where you need to dilute a color’s saturation.
How do you create a graded wash?
Select a dark saturation for your first graded wash and mix enough paint on your palette to cover as much of the paper as you need. Again, the more water you add, the lighter the color will be. To darken it, add some more color.
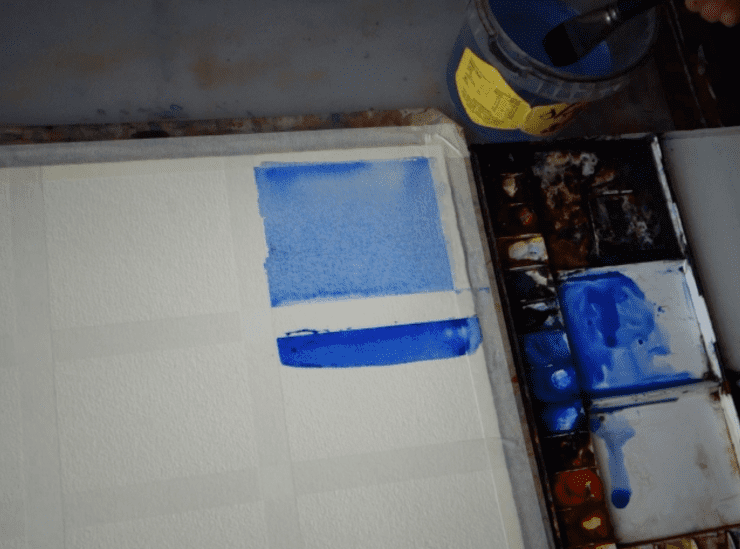
Fill your brush with the very saturated paint, and starting in the upper left corner draw your brush across the paper to the upper right corner.
Next, add water to your color to reduce the saturation, fill up your brush and paint across the next row, overlapping the first row of paint. Make sure to go over the damp edge of the previous wash, so that the boundary between the to washes blend together.
Add more water to your color to desaturate it some more, and paint another row, again overlapping the second row.
Continue down the paper until you get to the last row, and use only water for the last stroke. Let it all fuse to created your graded wash.
Clean off any marks on the edges to prevent bleeding.
Tips
You can reverse this technique and have the darker saturation at the bottom by applying the lightest wash at the top and adding more color as you move down the paper.
Practice creating graded washes with different colors. This way you will learn which colors have properties that affect how they feel and flow in washes.